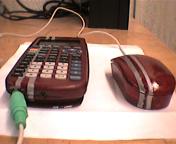
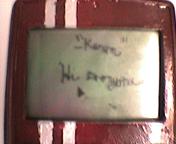
Wednesday, January 3, 2007
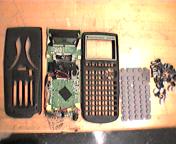
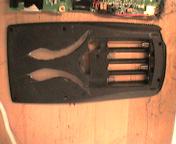
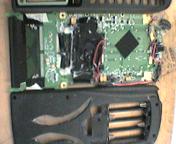
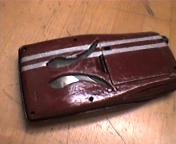
I started out today by etching the cutouts for the back of the case. I proceeded to cut them out, which took about two hours, and now have a close-single-quote open-single-quote on the back of my calculator case. Unfortunately, it appears that I sliced through two of the sixteen motherboard <--> display cable leads in the process, so I'm now trying to figure out how I will reattach them. Preliminary thoughts are running strongly towards exposing a section in the middle and patching it with two small pieces of foil.
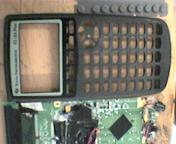
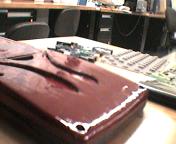
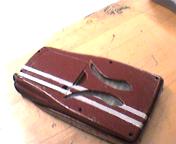
I also sanded down the two main outer pieces of the ABS plastic case in preparation for painting; at the moment, I'm considering a glossy maroon with a double stripe of silver. The CSA mod is complete, the PS/2 mod is complete, and I hope to have the plexiglass cutouts for the back of the case complete this afternoon.
To Do List:
1. Etch and cut out two pieces of plexi for the back of the case
2. Repair the display cable
Note: please reply in a separate thread!
http://www.cemetech.net/forum/viewtopic.php?p=56782
Wednesday, January 3, 2007
I just managed to get one of the case windows cut out after completely destroying one jewel case and most of a second one, then hot-glued it into place. Now I'm trying to get the second window cut out and installed.
Edit: 45 minutes later: got the second window cut and hot-glued into place.
Wednesday, January 3, 2007
I managed to reconnect the LCD cable; for the first lead, I used a full 24-awg wire, soldered carefully to the two pads. When I did the second one, however, one of the pads ripped off, so I had to sand off a tiny piece of the trace on the LCD PCB and solder a single strand of wire over to the associated pad on the motherboard. I then did another round of sanding and experimented with backlighting the windows. I may decide to do it. I also think I will still use the antistatic shield, but modify it to have cutouts where the windows are. The CSA module seems to have stopped functioning for some reason; investigation is underway.
Edit: I removed the static shield from my spare parts calculator, cut away two areas corresponding to the windows, and reassembled the calculator until I can find some paint.
To Do List
» Find maroon and silver Testors model/hobby paint
Thursday, January 4, 2007
Worked all day. Showed off the prepped-for-painting calc to my boss.
Friday, January 5, 2007
Got off work at 11:50am, walked around to a few stores trying to find Testors enamel paints. Finally found some after two miles of walking; I got two Dark Red glossy and one Silver glossy as well as a paintbrush. I shall start by painting on one of my spare calc cases to see how it works out. For now, lunch and a bit of ut2k4.
Saturday, January 6, 2007
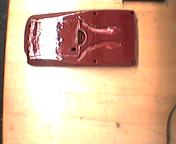
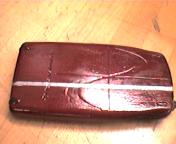
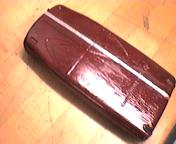
So far this evening I repainted the first pair of stripes (the second pair having been completed yesterday evening) and then touched up the red surrounding the stripes on both halves of the case. I also put two coats of the glossy dark red on the inside of the slide case. When all this dries to some extend, I'll post pix.
Edit: I tried adding some of the keys in, and I see I'll have to use a small, sharp implement of some kind to clean out the key holes. Most of the keys stick to some extent. I also managed to smudge some silver, so after the next red touchup, I'll do some silver touchup.
Sunday, January 7, 2007
The first silver stripe on the slide case was dry by now, so I removed the masking tape; it came out fairly clean except for around the "Texas" of "Texas Instruments". Later today I'll do the second stripe, then touch up around both with red and clean out the key apertures.
Sunday, January 7, 2007
Painted on the second stripe for the slide case, now waiting for it to dry. I also touched up all the rest of the silver paint. Next, I took off the electrical tape covering the CSA apparatus and investigated why the module stopped working:
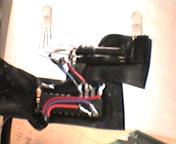
You can see a GAL16V PLD inside there, soldered to power (red), ground (black), and the two link port wires (orange and purple). The LEDs are on the red, green, and blue wires.
It turns out that the ground wire got disconnected from the common LED ground. I shall resolder that right now. Here's a gratuitous pic of the wiring of the link port, CSA, and PS/2 port:
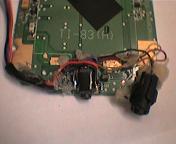
Sunday, January 7, 2007
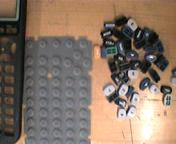
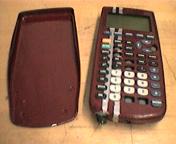
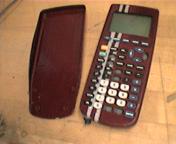
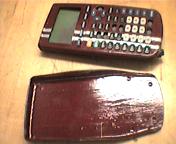
I finished up some various things this evening, rewired a new switch for the CSA mod into the battery compartment, then completed the tedious process of reassembling the calculator. I managed to get keys from a spare calculator that were actually smaller than the keys from the one I was using, those they do stick or jam on the now slightly-narrowed key aperture walls. Pix below.
Monday, January 8, 2007
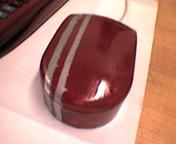
This morning I tested the PS/2 port to ensure it was still functioning properly; both keyboards and mice seemed to work fine. I found an old IBM mini PS/2 mouse lying around, sanded it down, and gave it two coats of my dark red glossy paint. Next, I masked off the first of the two silver stripes and painted it. The second stripe shall be added tomorrow. Pix:
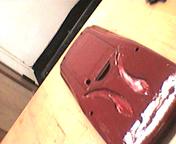
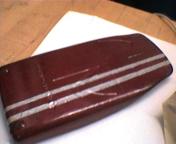
The second silver stripe on the slide case:
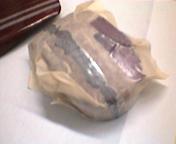
The masked-off minimouse:
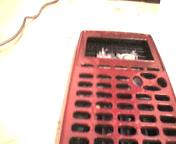
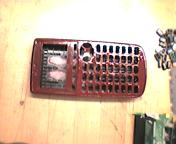
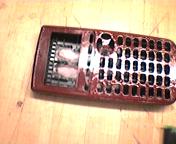
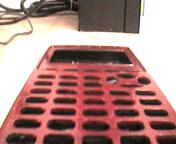
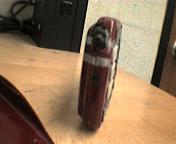
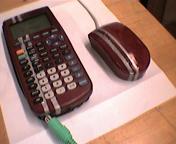
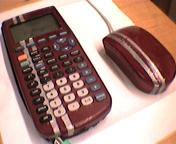
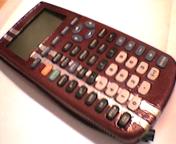
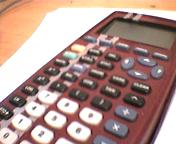
Three views of the completed front, although key labels are still absent:
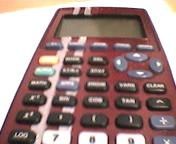
For the key lables, I'm considering getting a red and a silver pen and writing in silver on red areas and red on silver areas. I'm also strongly considering varnishing the whole shebang - any suggestions on varnish?
Tuesday, February 6, 2007
On my way back from tutoring this evening, I stopped at Utrecht Art Supplies and inquired about the best varnish to use for enamel paint. They directed me to Golden-brand Archival Varnish:
http://www.utrechtart.com/dsp_view_product.cfm?classId=1020&subclassID=102012&brandname=&item=68798

I disassembled the Ultimate Calculator once more, sanded it down with very fine sandpaper, and started the ~10 coats of varnish I plan on having. It's progressing nicely, and might even be completed by tomorrow.
Thursday, February 8, 2007
Sanding, varnishing, and drying complete! It looks pretty pwnsome, although I must say the gloss is not completely uniform. I'll probably toss on some more coats of varnish after I take highres pix today. I'm declaring this project complete though.


