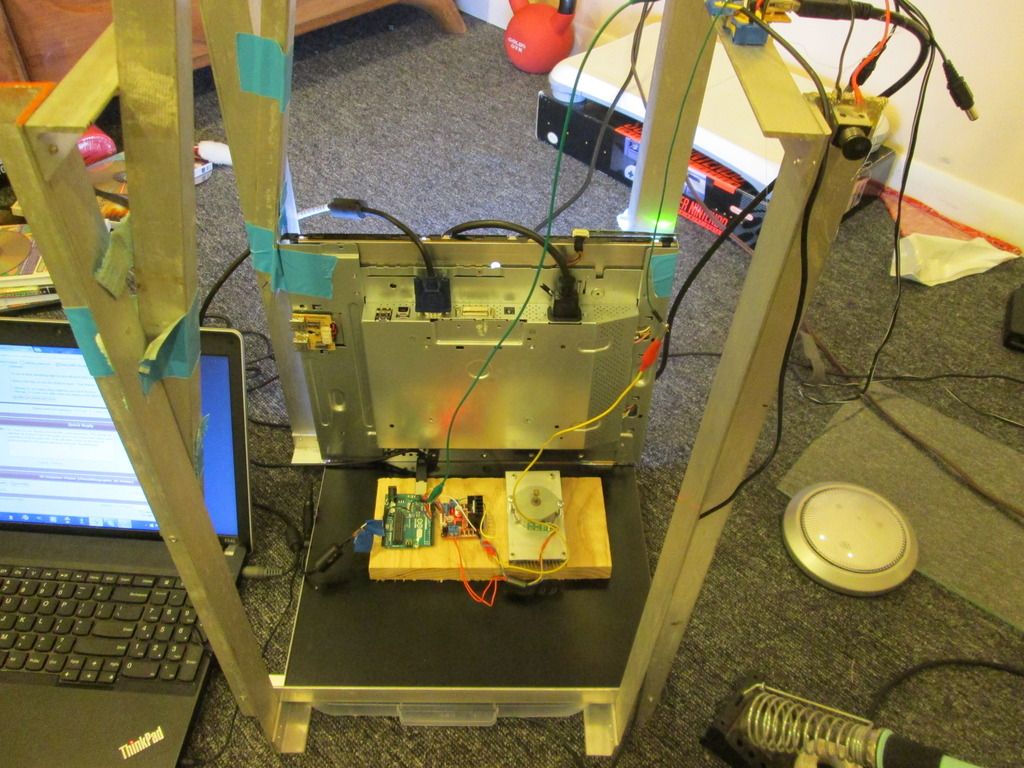
I am not entirely sure about what the screen will do and again, we probably won't know until we decide when we are going to invest $55 into some makerjuice. I'm pretty sure the monitor will work though because I've seen videos of this same concept.
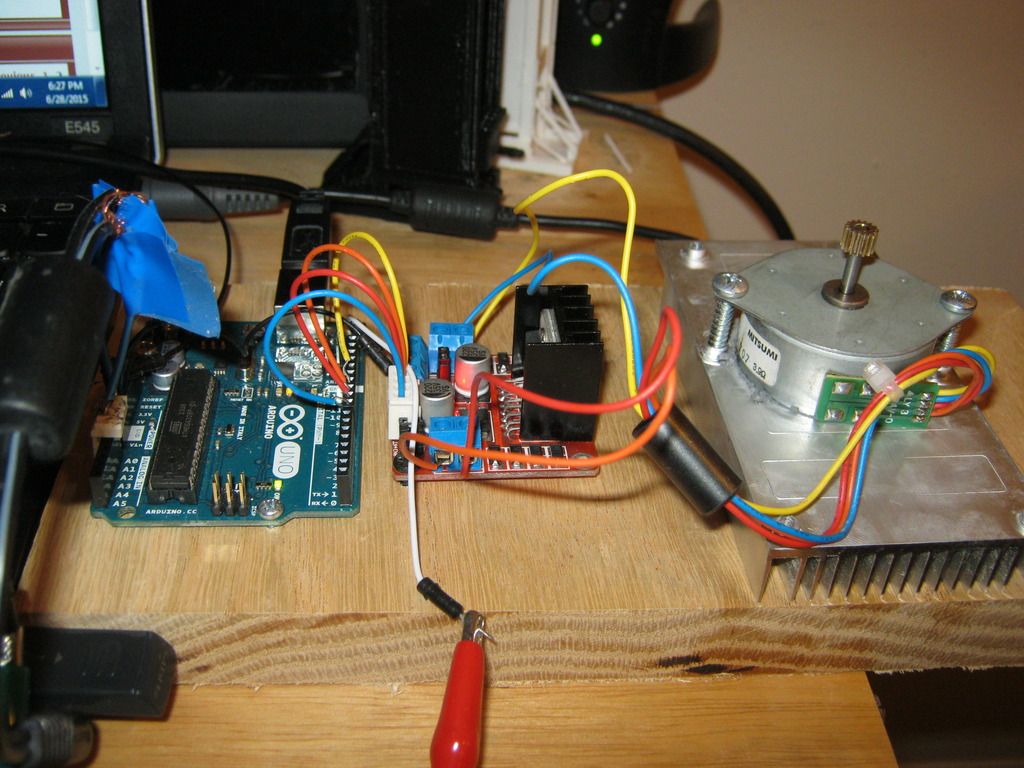
I've been getting stepper motors out of old printers and some of them have scanners which should have UV transparent glass on them right?
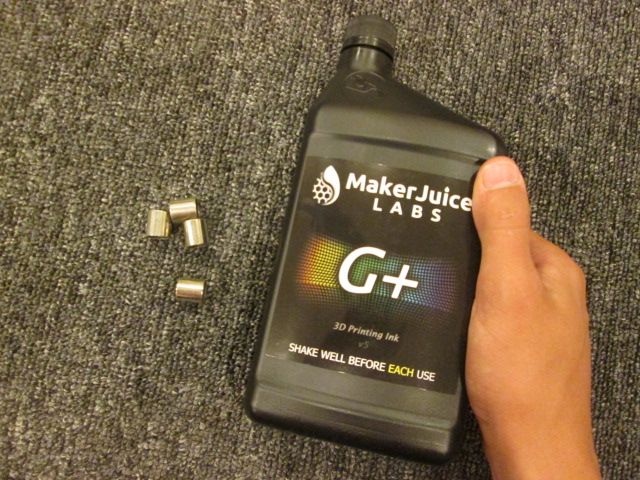
I ask this because my mom's friend knows a LOT about photo-curing of different kinds of resin (go figure) and the makerjuice might dissolve the polarization filter on the screen so glass is required to protect it.
I've been getting stepper motors out of old printers and some of them have scanners which should have UV transparent glass on them right?
I ask this because my mom's friend knows a LOT about photo-curing of different kinds of resin (go figure) and the makerjuice might dissolve the polarization filter on the screen so glass is required to protect it.


")

 although it would actually be possible